Feliz Natal Roberta
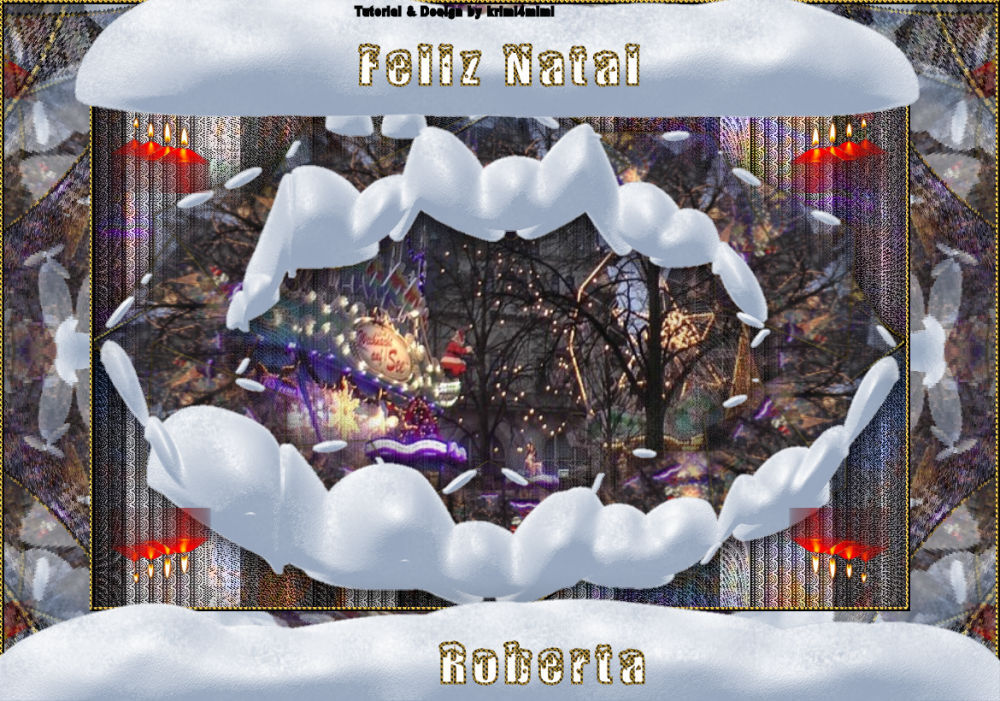
I simply developed this tutorial in my fantasy. Should you find similarities to other Tutorials, please contact me. The only third party material I used are two freebies from www.pixabay.com. The background image shows the Christmas market of my hometown Bremen in Germany..
For this tutorial you need::
Material
2 selections
The kerzen.jpg file
The goldmuster.jpg file
The 20-20 mask
A Christmas background image
The Polar Snow font
You can download it here: https://filehorst.de/d/etcaudor
Filters:
Birgits Chaos – Curtain
It@lian Editor's Effect – Effetto Fantasma
MuRa's Meister – Copies
Alien Skin Eye Candy 5 Nature
Simple – Top Left Mirror
Filters Unlimited – Tile & Mirror – Radial Tile
Most of the filters you will find here: http://tutorialsbyhexi.grafikkreators.de/filterseite/filterseite.html
Preparation:
Place the selectioss in your selectiobs folder
Place the gold patter in your pattern folder
1 Open a new image 950 x 600 pixels
Selections – Select all
Copy your background image (not misted)
Edit – Paste into selection
Selections – Select none
Effects – Image effects – Seamless tiling with the default settings
Layers - Duplicate
Effects – Birgits Chaos – Curtain
Set the blend mode to Luminance (Legacy)
Layers – Merge – Merge down (flatten )
Load the Roberta1 selection
Selections – Promote selection to kayer
Selections - Duplicate
Select the original – Effects - It@lian Editor's Effect – Effetto Fantasma with the default values
Set the blend mode of the copy to Multiply – Layers – Merge – Merge down (flatten)
Selections – Select none
Set the blend mode of the merged layer to Multiply
Effects – Image effects – Seamless tiling with the default values
Load the roberta2 selection – Layers – New raster layer
Edit your background image with the 20-20 mask - Copy
On your working image Selections – Select all, Edit – Paste into selection
Selections – Modify – Select Selection borders, Outside – Width 5- Anti Aliasing selected
Layers – New raster layer, fill the selection with the gold pattern
Effects – 3D effects – Inner bevel with the default settings
Effects – 3D effects – Drop shadow: 0-0-50-25
Selections – Select none
Layers – Merge – Merge down (flatten)
Layers - Duplicate
Image – Resize to 20 %, Resize all layers not selected
MuRa's Meister – Copies with the Encircle preset and the default values
Edit - Cut
Selections – Select all
Edit – Paste into selection
Alien Skin Eye Candy 5 Nature – Snow drift with the Large, Large Snow Pile from bottom preset and the default settings
Effects – 3D effects – Drop shadow 0-0-100-50
Copy the kerzen.jpg file
Edit – Paste as new layer
Use the pick tool to shift the layer to the position x = 14 y = -9
Effects Simple – Top Left Mirror
Selections – Select all
Image – Add borders with any color
Selections - Invert
Fill the selection with the gold pattern
Repeat inner bevel and drop shadow
Selections – Select all
Edit - Copy
Image – Add borders 100 pixels with any color
Selections - Invert
Edit – Paste into selection
Filters Unlimited – Tile & Mirror – Radial Tile with the default settings
Selections – Select all
Image – Add borders 5 pixels with any color
Seletions - Invert
Fill the selection with the gold pattern
Selection – Select all
Selections – Modify – Contract by 110 pixels
Repeat step 34
Install the Polar Snow font and set the gold pattern as a foreground color and white as a background color
Activate the text tool and write Merry Christmas or the text in a language of your choice with the Polar Snow font and font size 50
Shift the text to a height of your choice on the upper snow
Objects – Align – Horizontal center
Layers – Promote to raster layer
Then with the same settings, write the name of the person you are making this imagre fory
Shift the text to a height of your choice on the lower snow
Objects – Align – Horizontal center
Layers – Promote to raster layer
Repeat drop shadow for both text layersWiederhole bei beiden Textebenen den Schlagschatten
Add your watermark and the copyright. I only used a license free image from www.pixabay.com
Layers – Merge – Merge down (flatten)
Resize the image to a width of 1000 pixels and save it as a JPG file
I hope you liked my tutorial and I would very much like to see your results.